Thursday, August 22, 2013

Riptide build part 7: Paint thus far

Got a little paint on the Riptide last night and tonight. I won't bore you with details and let the images speak for where things stand thus far. Still a lot to do but a migraine has me calling it a night early.

The pictures of the body are from yesterday as I forgot to take any pics after working on it today. The rest are all from today.


 Just ignore the unfinished Mark 2 and 3 armor in the background. ;-)


As always, CC is welcome and appreciated!

 Thanks for looking!

Wednesday, August 21, 2013

Riptide build part 6: Pre Shading. Oh the humanity!


Not a big update but I managed (over the last several evenings) to get the Riptide pre-shaded. My airbrush has been acting up and frustrating me to no end so I had to stop and clean it several times. I also had to stop and walk away from frustration several times.

I did find a great use for a boat load of little screwdrivers I had laying around. You know, the promotional kind you often see vendors handing out. Because they have a magnet on the end, I found they worked really well for holding the magnetized Riptide pieces while I painted them.


Going back with the white to clean up some of my thick black lines and over spray.


Handy screwdrivers with magnets on their ends. Good for holding my magnetized pieces.


As always, CC are welcome and appreciated.

Thanks for looking!

Saturday, August 17, 2013

Riptide build part 5: Ok, I lied. I still had/have some magnetization to do.

Just a quick update as I'm about to fall asleep. It was a busy day (non hobby related) but I managed to get some of the smaller weapon systems magnetized so they fit nicely on the arms and on the jump pack engine nacells. I'm hoping to finish things up so that I can at least base coat and pre-shade it tomorrow...assuming the weather permits.


Thanks for looking and as always, CC is welcome and appreciated!

Thursday, August 15, 2013

Riptide build part 4: Close Combat ideas and Final magnetization.

Ok, you may need to use your imagination a tad on some of these pics because I've used blue-tac to slap a DreadKnight sword onto one of the Riptide's arms. I think it looks pretty damn cool but I would have to mod the sword a bit to make it look more Tau and less GK.


Close Combat Riptide!


Big Gun options!


Pins in the base go into the feet to help support the model and help avoid any breaking off from the base.


Scraping away at the base a bit. Making some spots for the feet to appear to smush down into the ground in an effort to indicate/show weight to the model in relation to the base (once it's done).  Also added some low spots for puddles/water effects.


Shoulder joint magnet + a pin and holes so I can magnetize it on but lock it into a particular pose of my choice because the guns are a tad too heavy for the magnet alone to hold up the whole arm/gun. I've done this to both shoulders. The pins aren't glued in so they can always be removed if I want.


And lastly the elbow joint for more posing options.

Thanks for looking!


Wednesday, August 14, 2013

Riptide build part 3: More magnets and more posing

Little update on the Riptide build. I settled on a base design that I've blocked out with cork. In my mind I see it as a forest setting and having a small creek (water) flowing between the Riptides legs...rocks, moss, shrubberies etc.

Gluing the cork to the standard flyer base that the Riptide comes with.


Magnetized the head so it'll turn and so I can use both head options or create my own heads at some point.


Shield magnetized to attach to the arms.


Both arms are magnetized at the elbows for posing.


Pinning the legs. A big pin for strength and a smaller one for support and it allows me to stand it up before gluing without it twisting and falling over.


Checking out the pose again this time with more bits on it. Note that it's standing on its own here with no additional outside support.... IE it's not leaning on anything and there's no pins from the feet to the base though I will add those later.


And of course no project can ever be considered complete without having bled on it or during the process.

I'm happy to answer any questions anyone may have regarding the build/magnetizing etc.

Thanks for looking and as always, CC are welcome and appreciated.

Monday, August 12, 2013

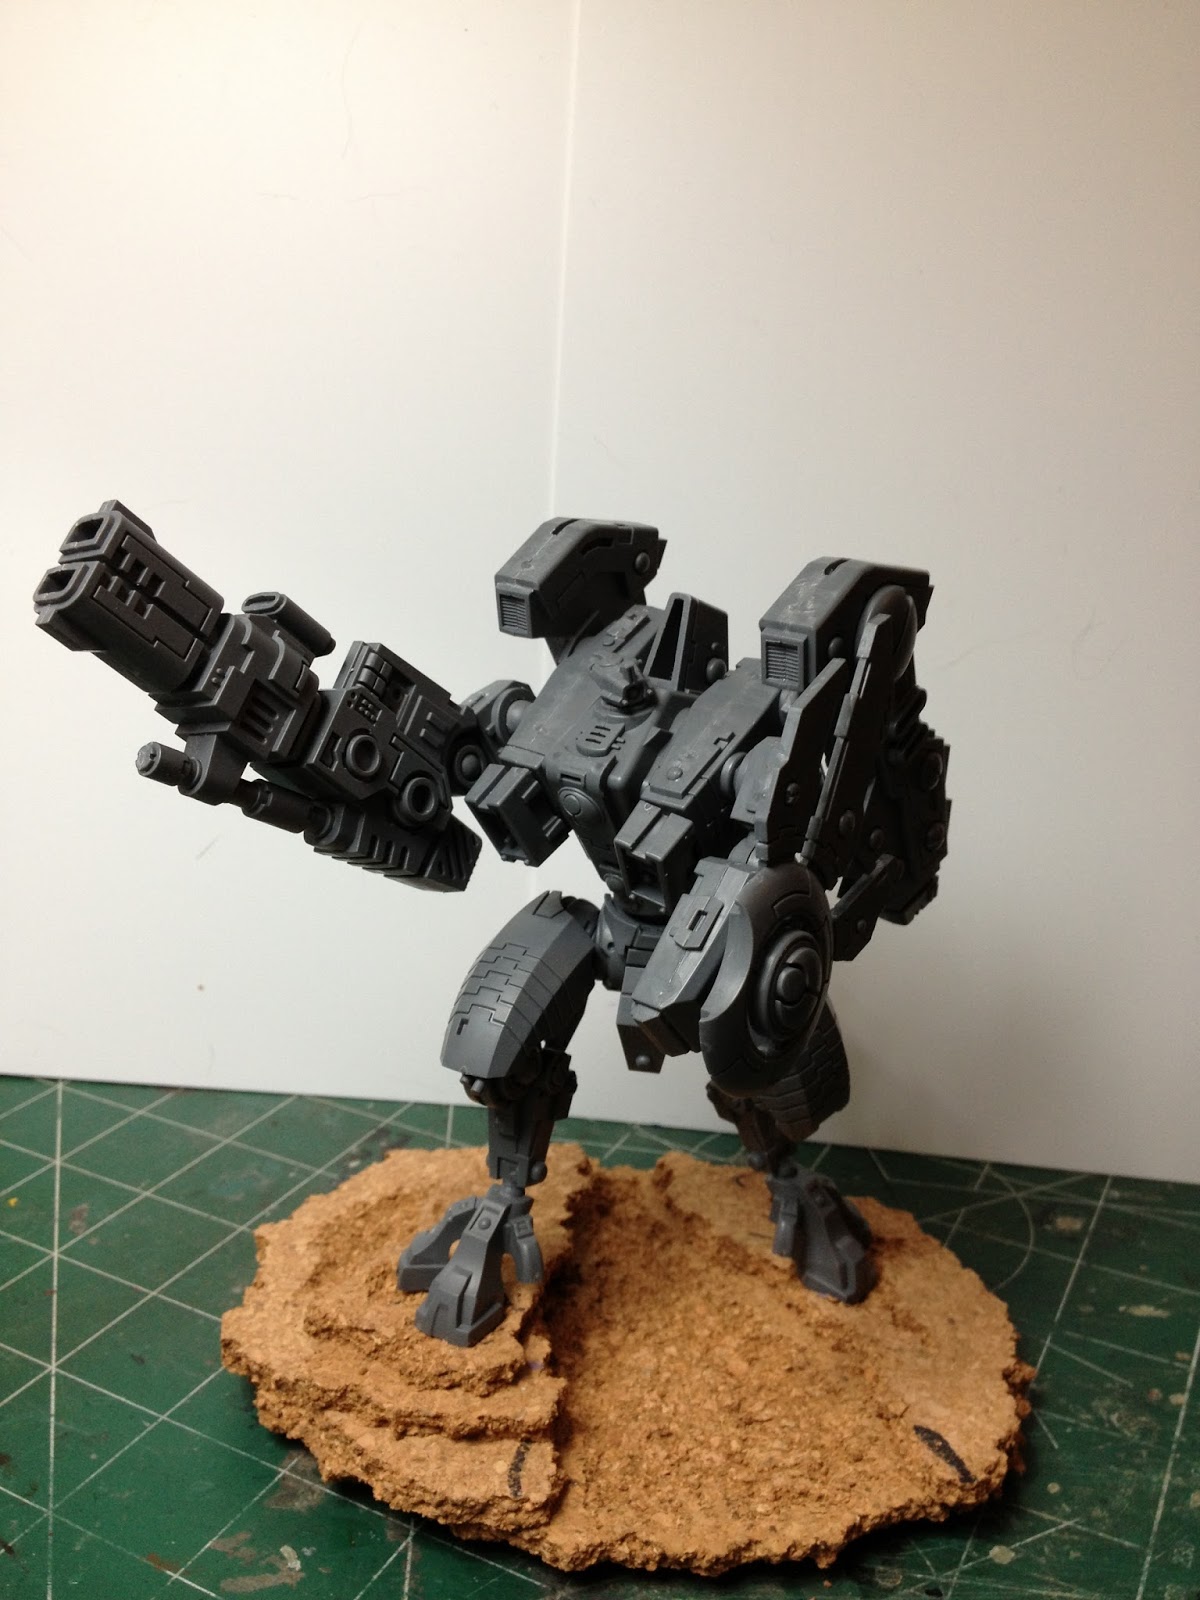
Riptide build part 2: Posing?

The Apoxie putty has dried so I can safely drill into the various parts for some magnets. I'll work on that this evening but I wanted to try and nail down a pose for it so I can also get to working on a base and get the legs pinned and glued.

This is what I've come up with so far. The drone peg and the blue-tac is just there to help hold him up as experiment with different poses.

 Thanks for looking and as always, CC is welcome and appreciated!


Sunday, August 11, 2013

Riptide build part 1

Laying in bed with a fever can make you do strange things.... like order a Riptide. At least if my wife asks about it I'll blame it on the fever.

So on to the build. I know I want to change its pose so off come all the pegs that define the pose you see on the box cover and in comes my drill. I'm using pieces from a large bull-clip for my pins and I'm using Apoxie Sculpt (2 part epoxy clay) to fill various bits so my pins will have something to be drilled and glued into. See the gray blobs in the pics to see where I've used the Apoxie Sculpt.


Filled the feet since I may magnetize it to a base....still undecided. 

Filled the waist so I could magnetize it for posing but also for easier storage and transport.

 Filling in parts of the upper torso for a magnet to the waist and one for the head.

 Filling in spots in the arms for magnets.

 And in the legs too.

Test fitting a big pin for one of the legs.


Hopefully I'll get to work on it some more this evening.

Thanks for looking and as always, CC is welcome and appreciated.